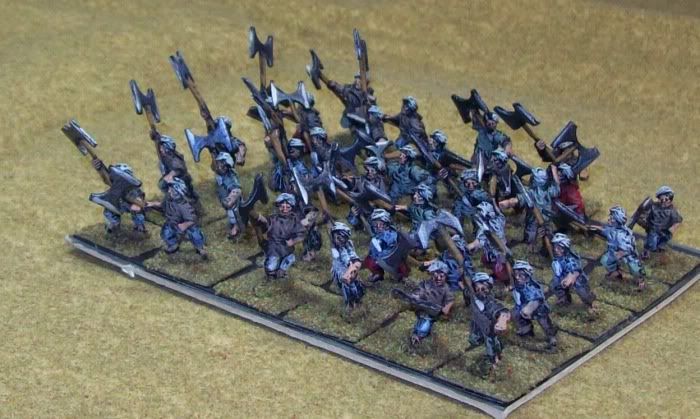
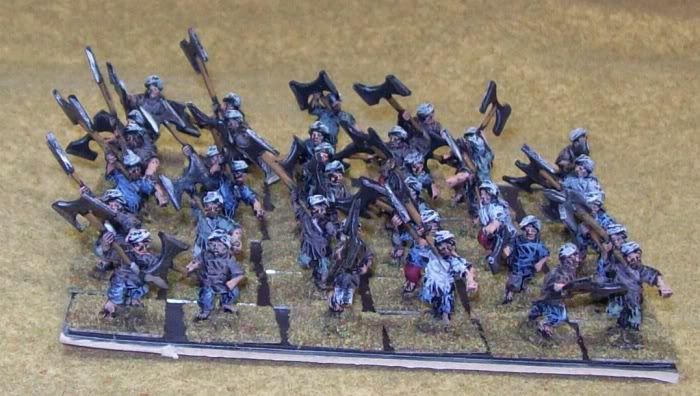
This will eventually house my Arab army, once finished.
For now here is the tutorial on making a dervish.
And the tutorial on making carpet riders.
Dervish
Converted from Old glory arab spearmen(see tutorial).
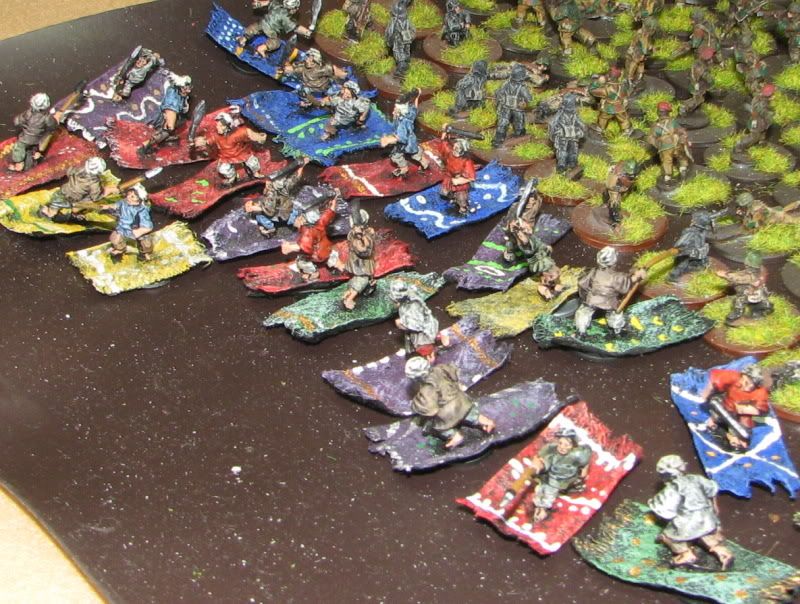
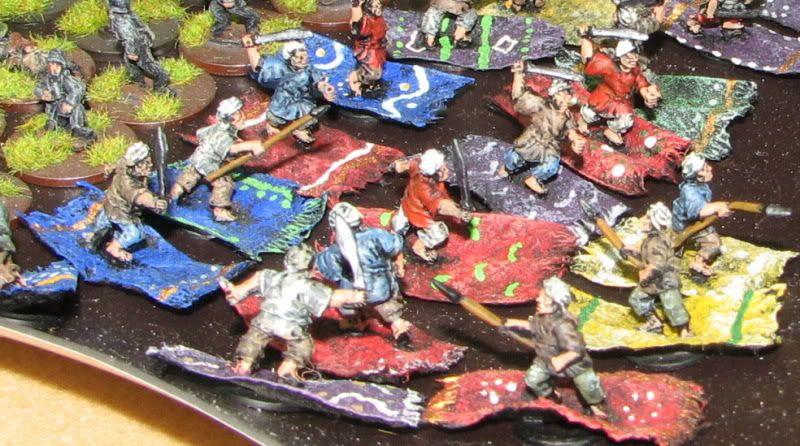
Carpet Riders
See the tutorial above to see how they were made. Peter pig sells flying carpets but this works just as well if not better.
How to make Arab magic carpet riders
Well, in addtion to making some dervishes, I wanted to make to carpet riders for the Arab army. I have to credit my wife with this one. I was just going to cut out a rectangle of card and paint it. Then she suggested I use fabric, make it stiff with a water glue mix and then shape it. These are really easy to make.
First you need to get some fabric. I am using muslin. In addition to scrapbooking my wife is an expert on fabric having taken several textile classes while getting her Bachelor's. I think any heavy material like cotton based should work for this. Just don't use real light material or polyester type. To get the frayed edge, which gives the carpet it's tassles on the end you need to tear the fabric verses cutting it. So start the tear with a 1/4 inch snip from the scissors and then tear it from then on the length of the fabric. Most fabric is 40+ inches wide so you won't need very much material. I made my tear at about 1-1/8 inch. This will be the length of your carpet. You will need to tear both sides to get this effect.
Once it is torn into a long strip (1 inch or so wide), you should have frayed edges on the sides. You can now prepare your stiffening mix. I used regular white glue mixed with a little water (just enough to make the glue a little viscous). Then run your strip through the glue mix covering the entire strip. This is very similar to paper mache if you have ever used that.
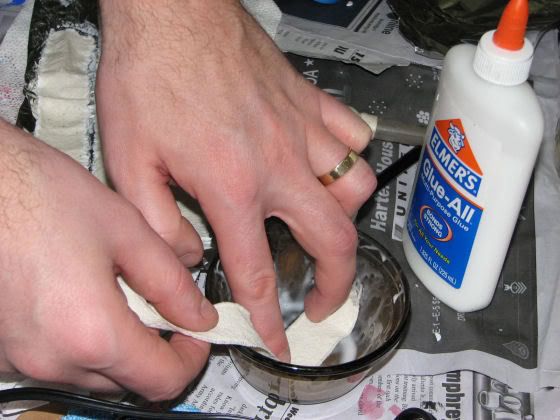
Now you need to lay your strips out on something that they won't stick to; I used aluminum foil. While the glue is still wet, bunch up the strips making creases and folds. This will give the carpets a fluid look. You can now wait for them to dry or cheat and accelerate the process with a heat gun like I did( another toy from my wife's hobbies).
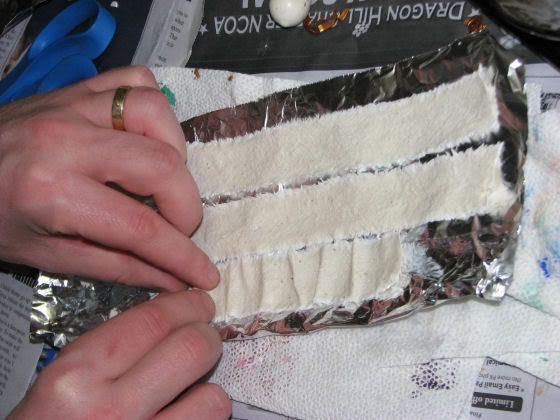
Once dry, simply cut the strips to your desired carpet width. Mine are about 15mm wide. This will leave "tassles" (the frayed edge) on the front and back of the carpet. I have successfully primed these now and they are ready for paint. I have also glued small(approx 10mm) washers underneath. My plan is make flight stands that have a small magnet on the top. This should make for more durable transport. It's something I have learned after making my viking valkyries.
I have used some Ansar swordsmen and spearmen as my carpet riders. I used an exacto knife to slice the base away from their feet and then used regular super glue to glue them to the carpet. They appear to be on firm, but I suppose time will tell.
Then you just paint
Here are the finished pieces LINK
How to make an Arab Dervish
Well, the only 15mm miniatures I know of that will work to represent the AoA Arab list (at least certain unit types) are from Peter Pig. As I am a big fan of Old Glory, I decided to make a few of my own. I envision the dervishes as wielding large axe like weapons and swinging them in a long arc to take out multiple foes (hence the sweep attack that they get).
These are based off of some 15mm Old Glory Ansar spearmen (from the colonial range I believe).
You start with some plasticard (some thin plastic). Other somewhat flexible but rigid materials that you can cut might work as well, like matte board.
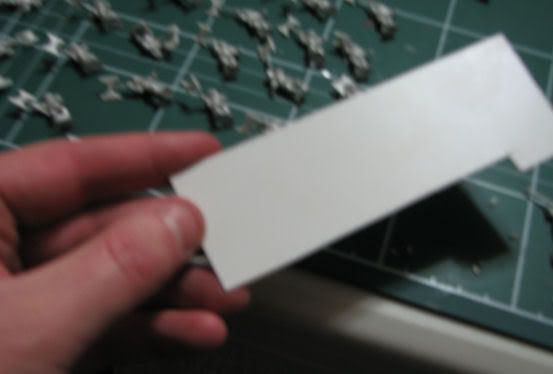
Now cut the plasticard into 4mm strips(this doens't have to be precise, wider will make for a bigger axe head).
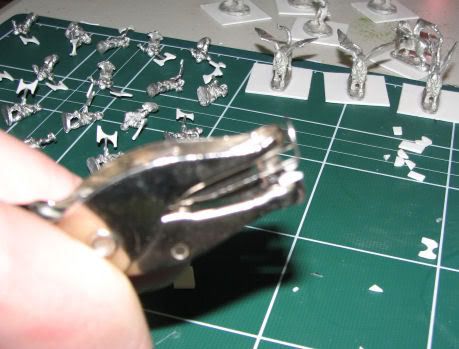
Using a regular hand-held hole punch (my wife is a huge scrapbooker so has lots of these types of devices), punch out about 1/3 of the strip on both sides. Unforetunately I didn't take a picture of this stage, so I just made up what it should look like in paintshop.
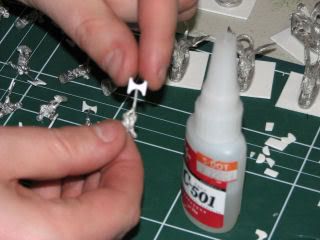
Next you snip off the individual axe-heads that you have made with the holepunch and glue them onto the spear shaft.
That's it! You now have a dervish carrying a long axe with a huge axe-head.
WWII Germans
Regular German Forces
These are mostly Battefront(FOW) minis. They're mnay be some Old Glory Command decision and some Old Glory 15s Quality casting in there as well. These, the US Airborne, the Russians and my aztec army all got a little messed up during priming. I think it was because I used the same piece of cardboard to prime on for too long. But a lot of paint "dust" ended up on the figures and made it so they didn't get sealed real well. Rather than stripping them and starting over, I tried to fight through it, and that is whay they turned out a little "grainy". Still not too bad, but I wish I could have reprimed them.
Infantry
Tanks
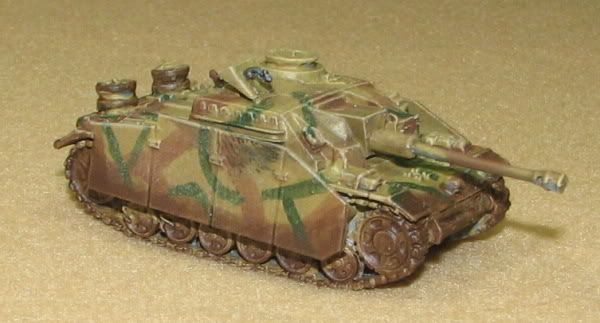
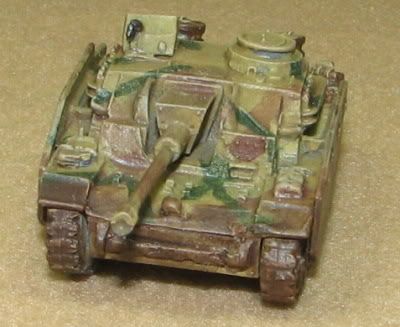
A stug III. The only german armor I have painted thus far. I have a ton primed and waiting though.
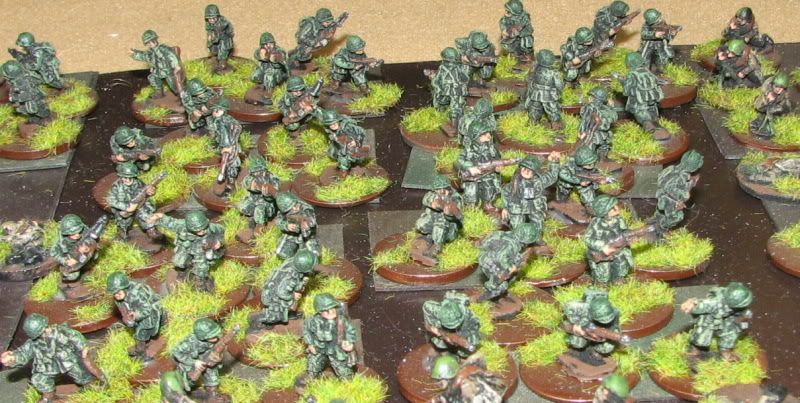
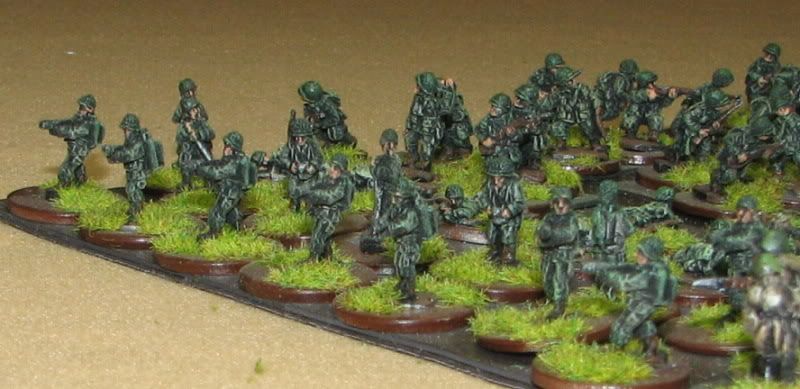
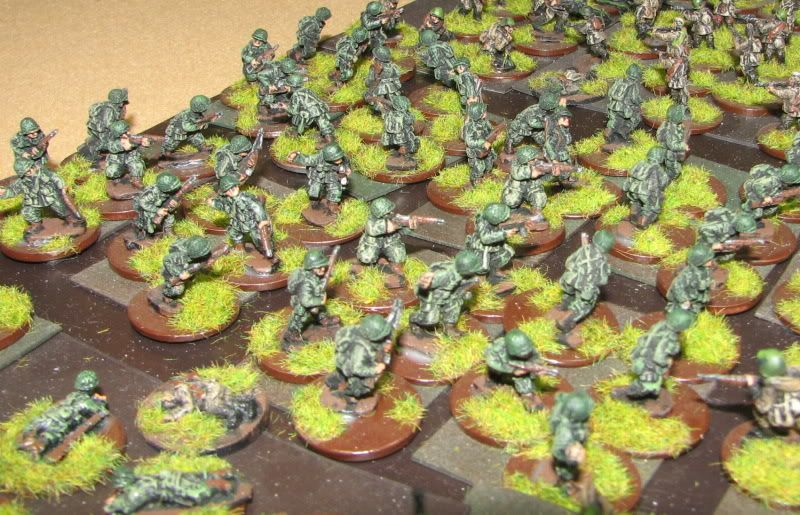
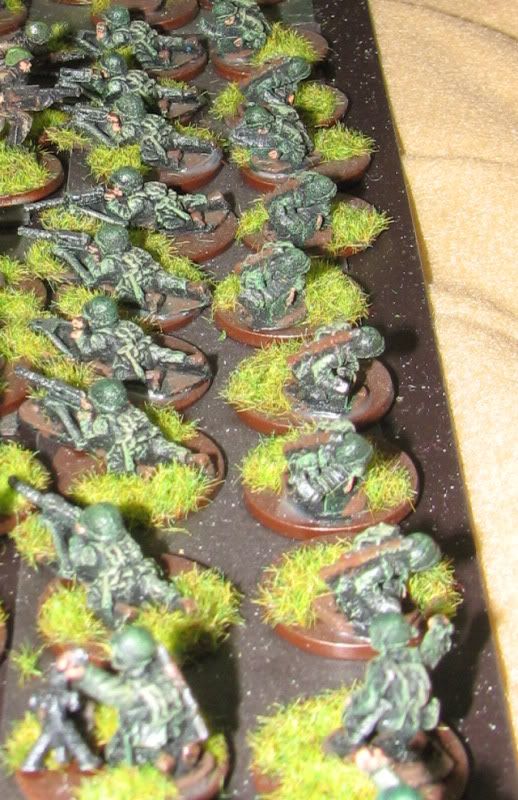
WWII American Paratroopers
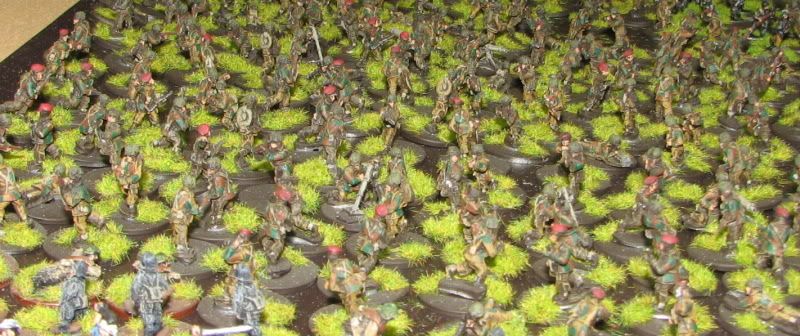
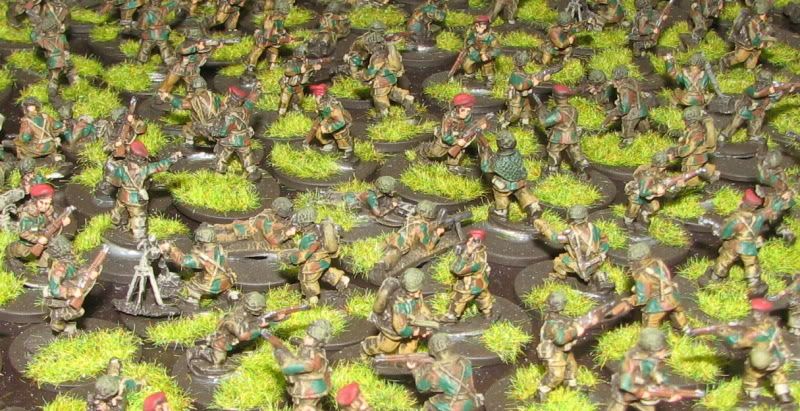
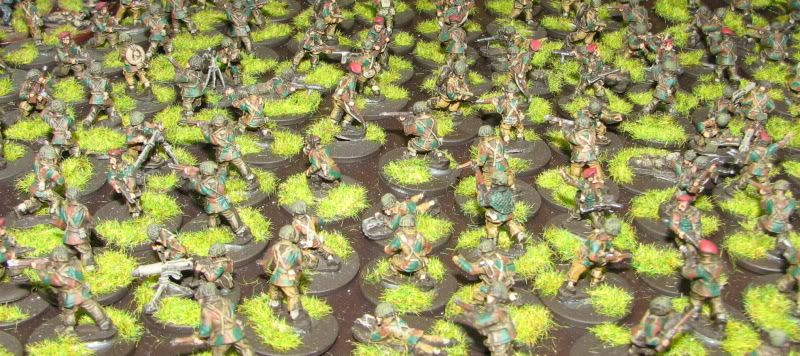
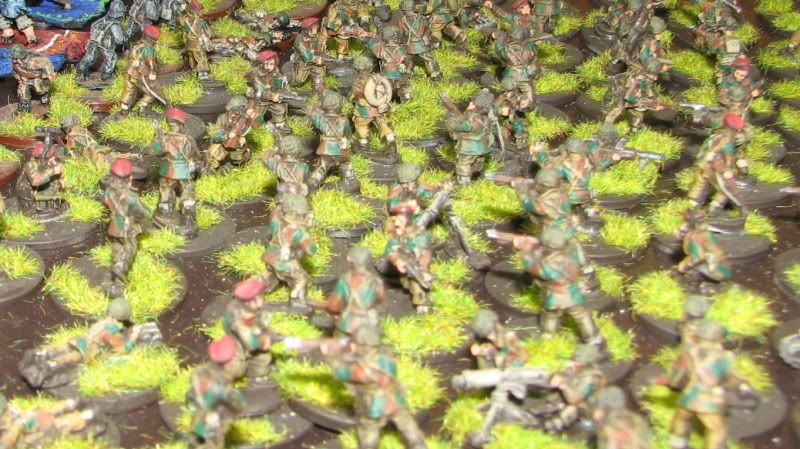
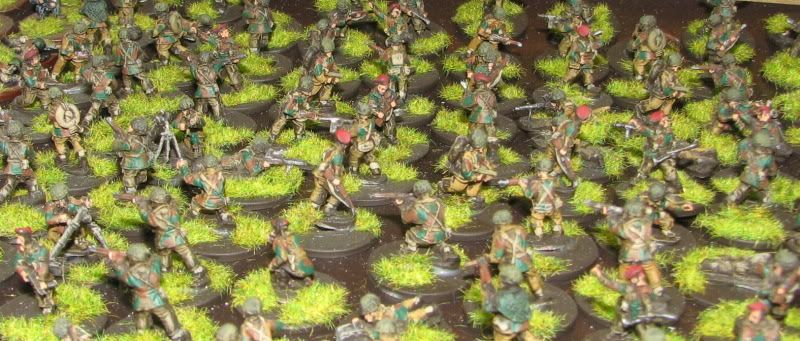
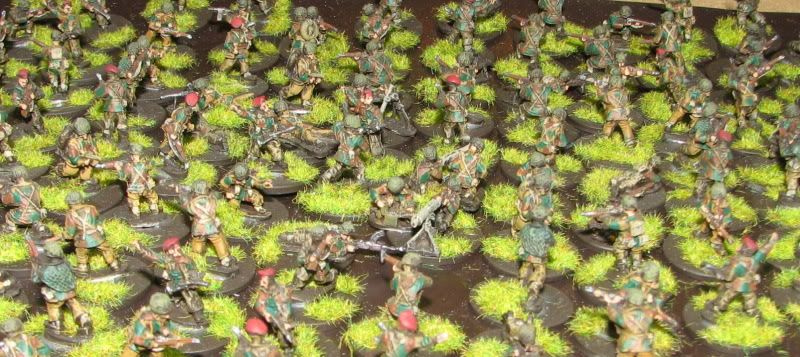
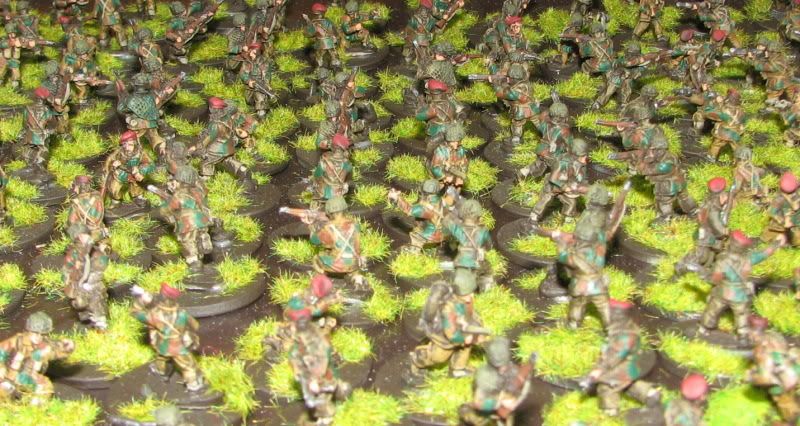
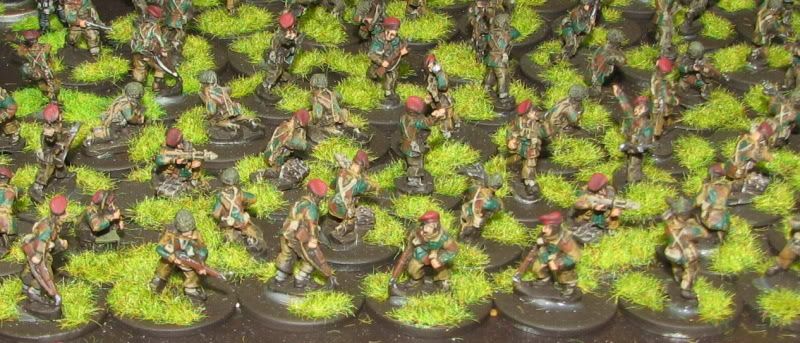
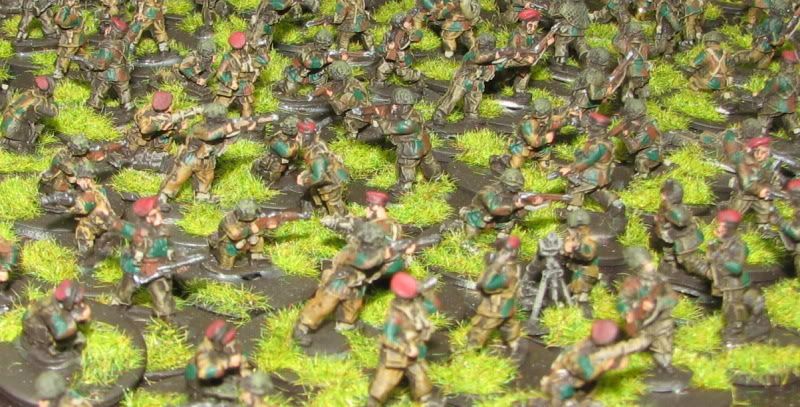
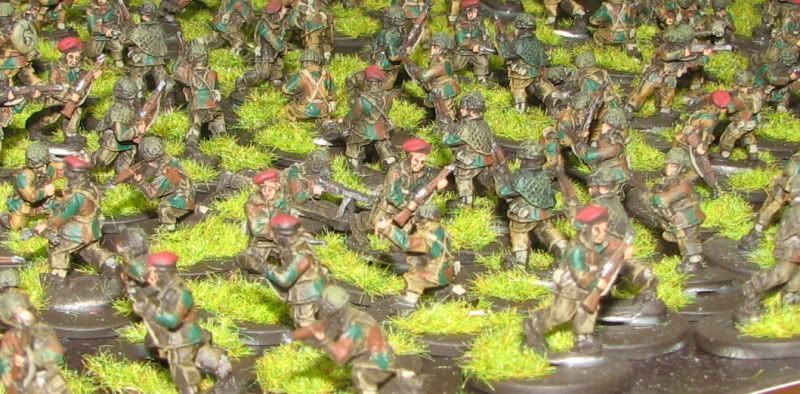
WWII British Airborne
WWII rRussians
The Commies!
All in 15mm. Same priming problem as the germans, see notes on that page. Mostly Battlefront(FOW) minis with some Quality casting and Command Decision as well.
Infantry
Tanks
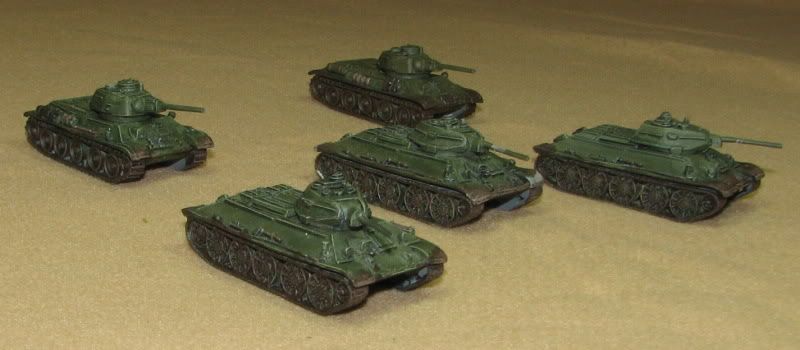
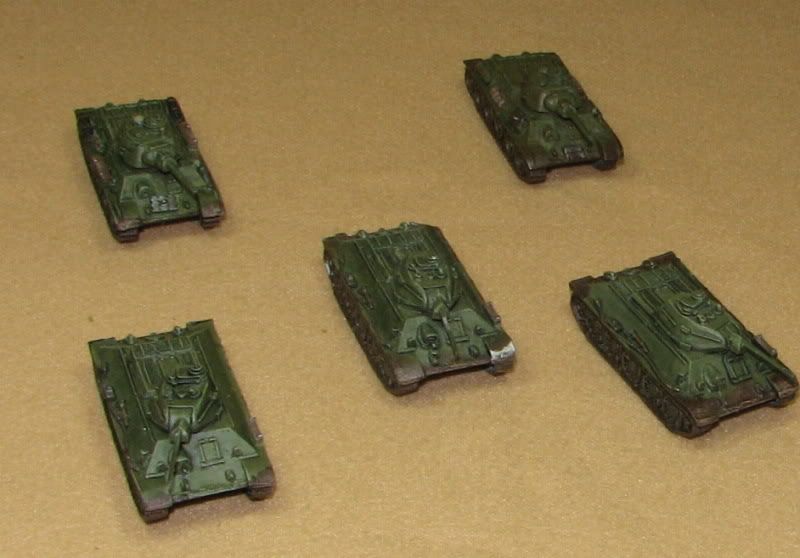
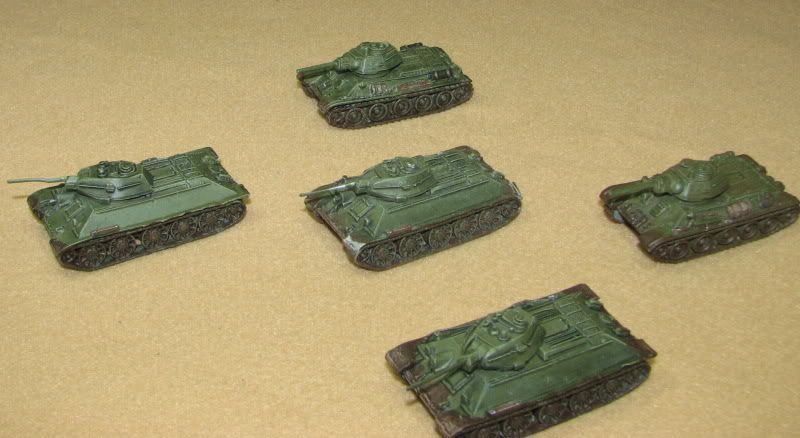
T-34 76mm guns. The two in the back are Quality Casting(just a little smaller). The front three are Command Decision. One suffered some battle damage when my 2 year old dumped some of Daddy's toys 3 feet onto the tile floor. I haven't got around to fixing it yet.
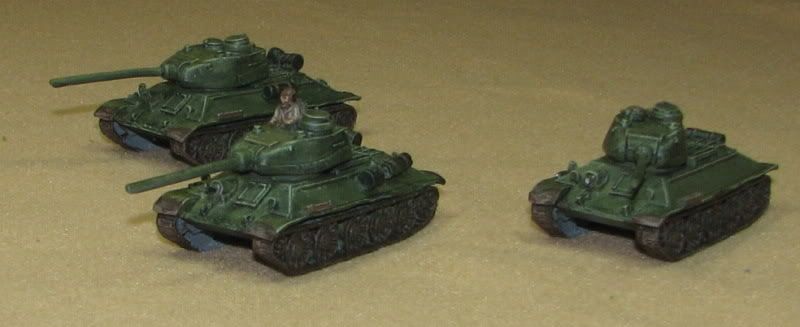
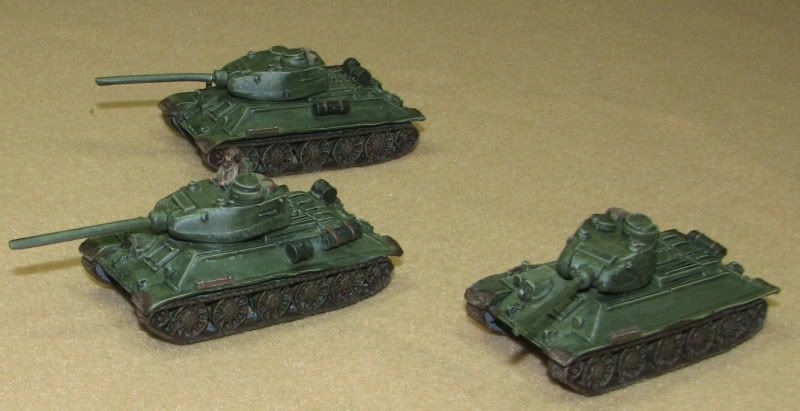
T-34 85mm gun
Models from Commmand Decision
Medieval Army
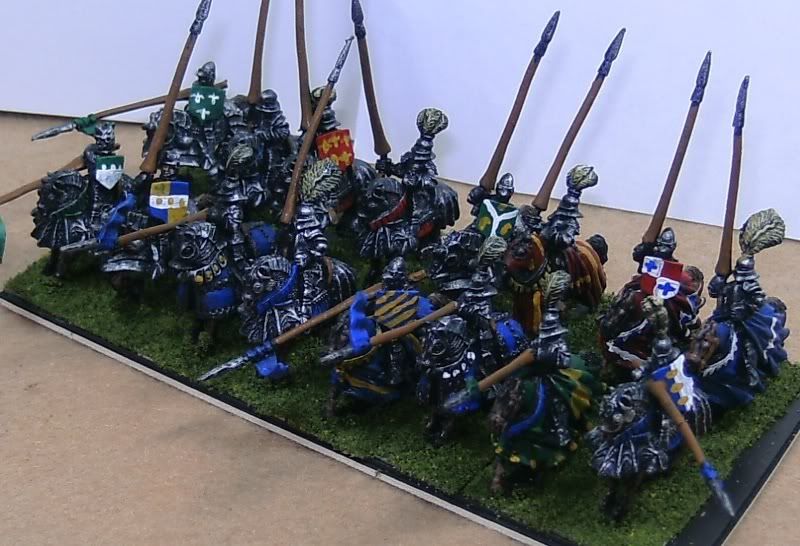
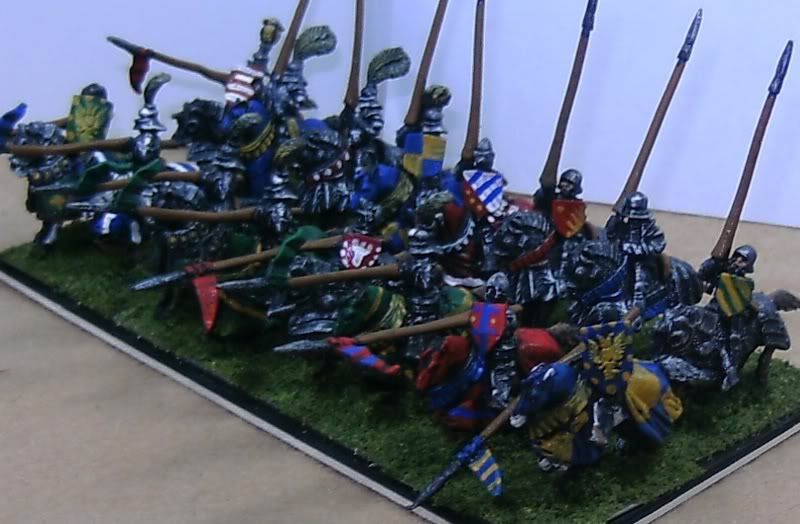
My Lyonese army which pulls heavily from the viking force as well for infantry units. I will eventually get all the pics up, but for now it's piecemeal. All were primed with Krylon dark brown camoflaugue ultra-flat paint and then drybrushed in multiple layers.
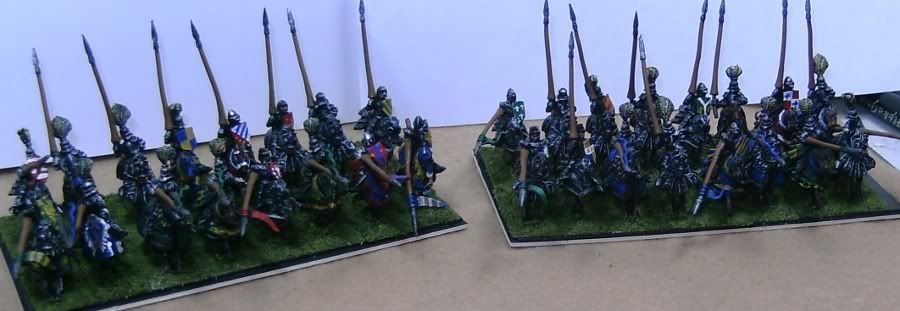
Mounted Knights
Figures are the from Rank and File(sold by oldglory15s). These are truly awesome figures in my opinion.
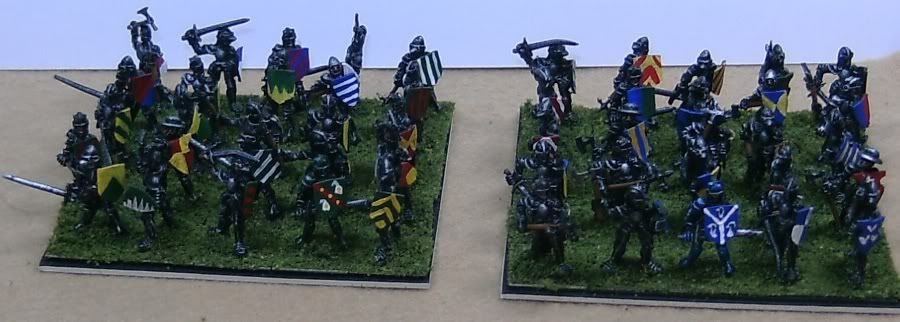
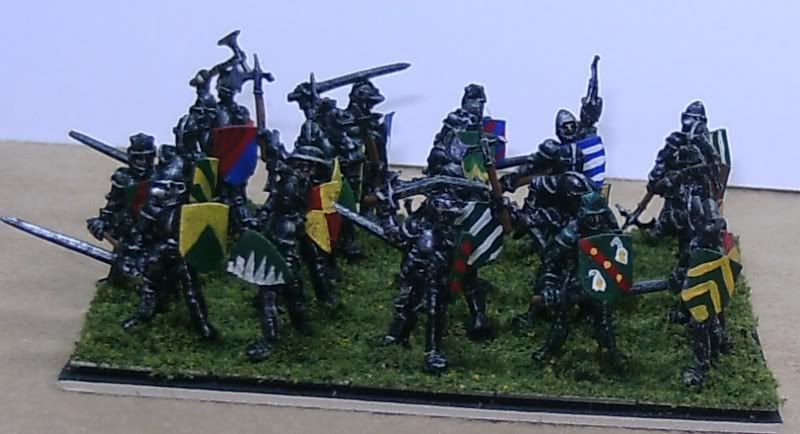
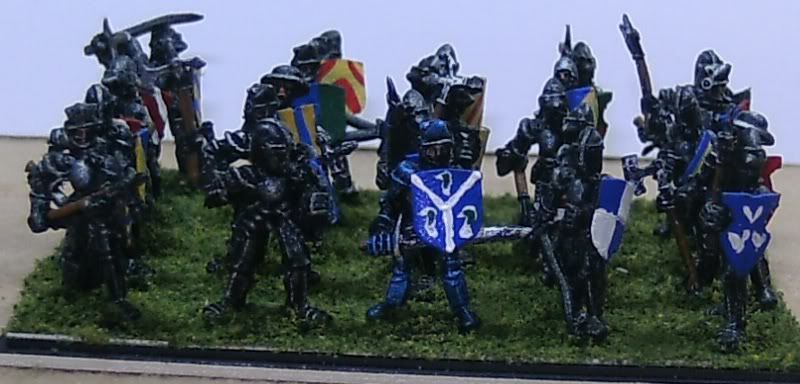
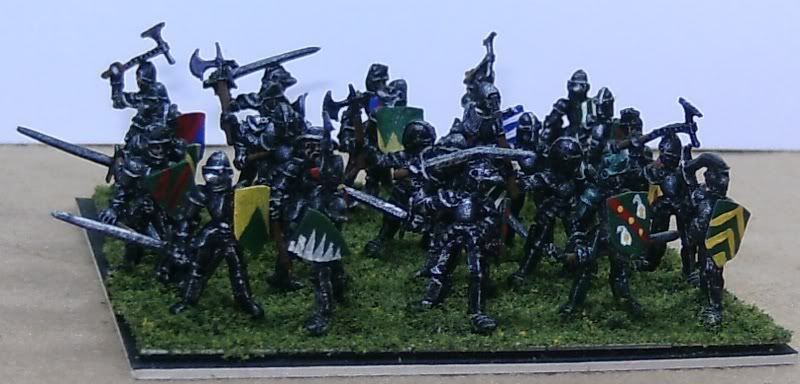
Foot Knights
Also Rank and File sold by Old Glory.
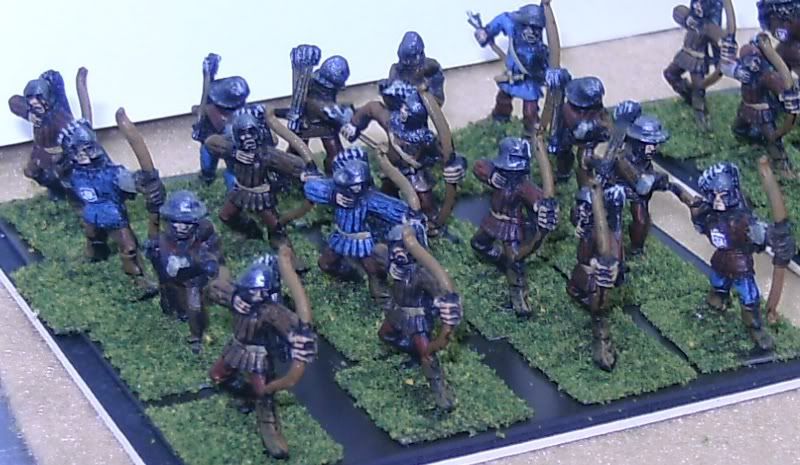
Bowmen
Also from Rank and File.
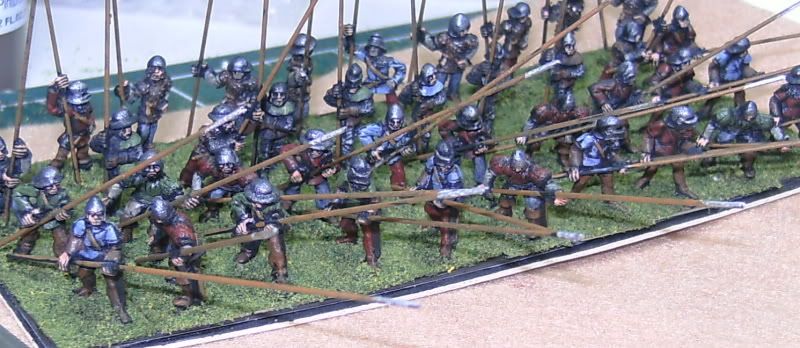
Pikemen
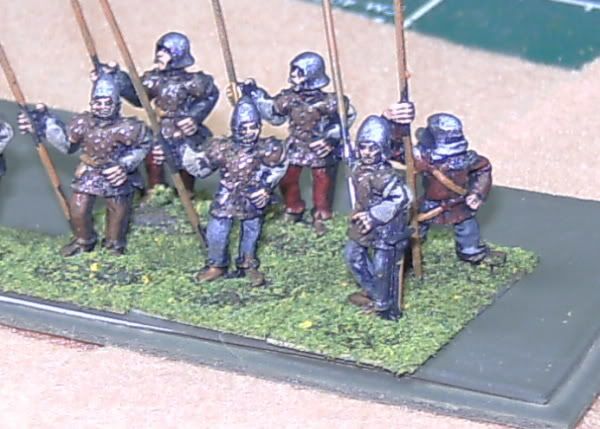
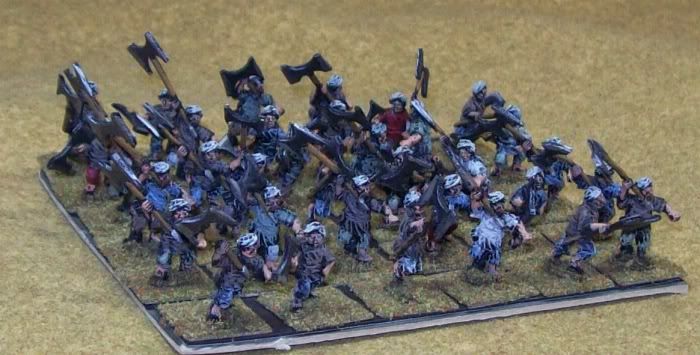
About 50 pikemen from the Rank and File medieval range. Light to medium armor.
Mounted Knights
Figures are the from Rank and File(sold by oldglory15s). These are truly awesome figures in my opinion.
Foot Knights
Also Rank and File sold by Old Glory.
Bowmen
Also from Rank and File.
Pikemen
About 50 pikemen from the Rank and File medieval range. Light to medium armor.
Subscribe to:
Posts (Atom)